Mar 27, 2011

Let's shed some light on the subject.

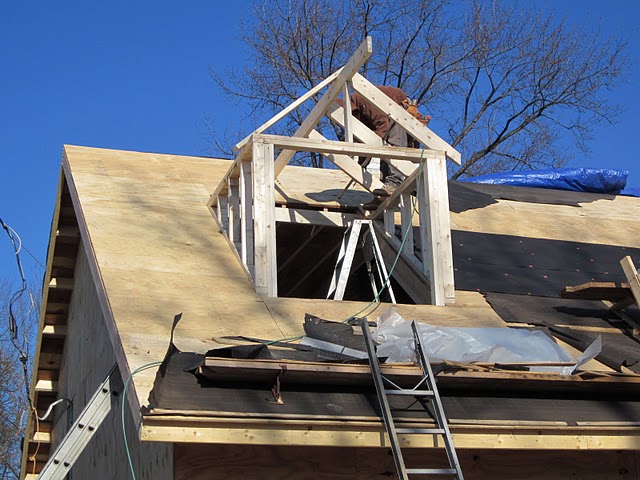
A major milestone in our renovation has been achieved! During the winter I framed all the rough openings for the new windows but we held off putting them in until we had a little better weather. 


This is one of the rough openings, I believe in the master bedroom.

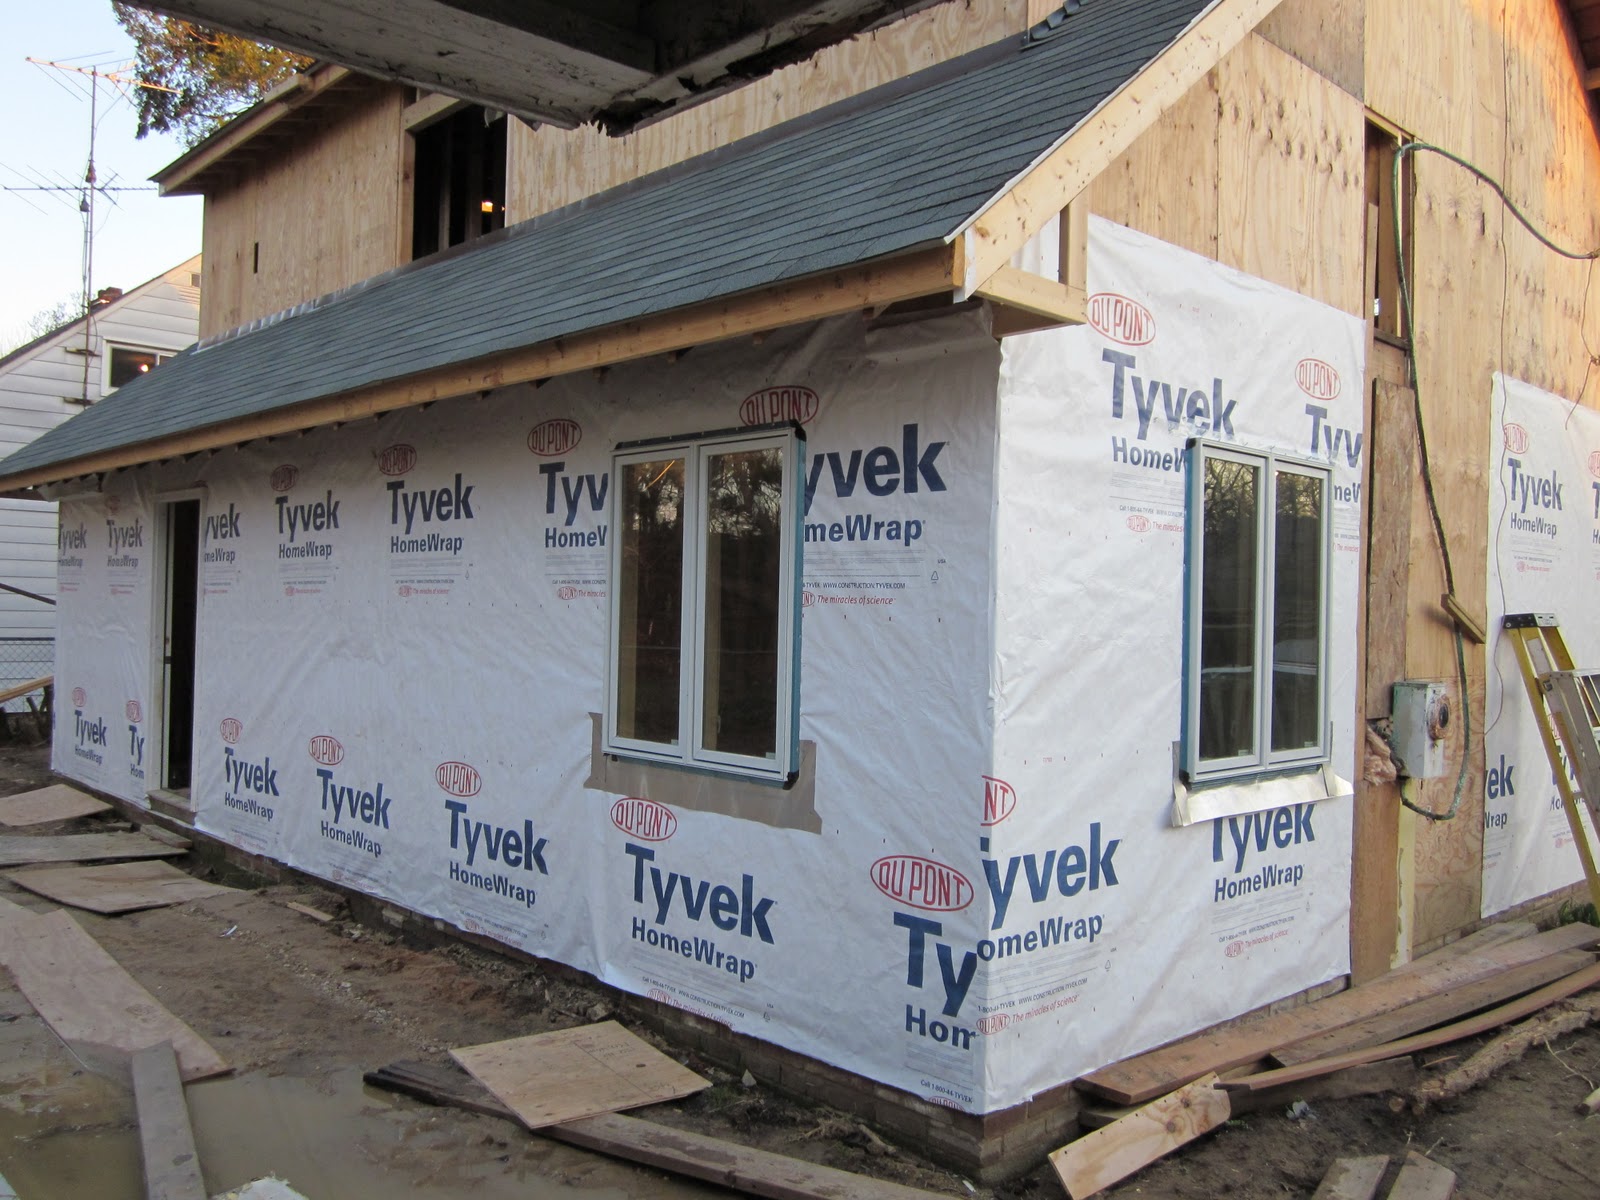
We cut out the plywood sheeting in the rough openings and got ready to wrap the house in Tyvek ® house wrap.


The old electrical service wire restricted us from wrapping the whole house at once, but here you can see two windows already cut out. A new wire, meter box, and distribution panel will be installed shortly and all the old (dangerously degraded) wire will be removed.

Here is the back of the house all wrapped up. The Tyvek ® wrap is both a water barrier as well as a wind stop that will guard against anything that might penetrate the siding. If you look closely you can see all the rear windows poking through the Tyvek ®.

Once the windows were cut out and wrapped the light really poured in! This is the dining room/kitchen area.


Here are the same window openings pictured above….this time with windows in them! These are Pella casement windows. They are wood on the inside and clad with aluminum on the outside.

Here they are from the outside. You can also see the flashing that will keep any wind-blown rain from creeping into our house around the windows.


This is the master bedroom window from the outside.


Here is a good shot of the front dormer windows looking out on the street in front of the house.

And, from the outside. We bought all the windows at an auction…except for one which we had to order from Pella. It should be here next week. We’ll be sure to post a few pictures of that one as it goes in.


Ignoring the monster pile of dirt (which has grown larger since this picture was taken), you can see the whole front of the house during the window installation.


Here is a window in the upstairs rear dormer looking out into our back yard. In a few weeks this same view will be filled with a blooming Crepe Myrtle tree.

All the back windows are in! The windows across the top (from left to right) are: bedroom-bathroom-bedroom and downstairs you have: bathroom-mudroom door-kitchen-dining room.

Becca and I tore out the old front door, moved it over a little bit so it would swing properly and then reframed a new door rough opening.


Here is the new front door installed. We’ll pick out a color and paint it to match our siding when that goes up.


Here is a close up of the leaded glass inlay in the front door. Becca and I both liked it and it took us 3 tries to get one from Home Depot that didn’t come with a dent!

Mar 21, 2011

Getting into the right frame of mind.

After the subfloor was completed we framed the interior walls.


Framing the walls inside is pretty self explanatory based on the pictures. Each wall gets a 2x4 on the floor for a bottom plate and a 2x4 on the ceiling as a top plate. We didn’t put down a subfloor in the bathroom (left, where you see bare concrete) because we will be laying tile here.


Once the top and bottom plates were in place we nailed in the 2x4 studs, 16" apart.


Our big project was installing a sliding "pocket door" for our walk-in closet. Luckily they make a kit and we didn't have to do one from scratch. This was our first pocket door adventure and it took a while to decipher the instructions. Once we hang the drywall we'll be able to put the sliding door in place.


We also put together the plumbing pipes for the mudroom, the kitchen and the upstairs bathroom. The wall you see here is deeper than normal (2x6 instead of 2x4) to accommodate the 3” waste lines. This picture was taken from the kitchen and the wall separates the kitchen from the mudroom.


Here I am pretending the pipes are a periscope in a submarine. We try to have fun while we're working!


These are the pipes leading to the upstairs bathroom for the toilet and the bathtub. Kevin had to make sure we had the proper slope and we still fit through the joists in the ceiling.


In order to bring the pipes around the kitchen wall we had to increase the bottom 34" to 2x6 so we could insulate the wall.


We also framed the walls around the upstairs bathroom, bedroom closet and a small utility closet that will eventually house the water heater and a manifold system for our water lines.


Here's another shot of the bathroom. Now we can really start to see the layout of the inside of our house.

Mar 19, 2011

A subfloor sandwich - yum!

Our next project was putting down the subfloor over the concrete slab downstairs. We’ve talked to our neighbors who have the same type of house and they all say their floors are cold…we decided to avoid this by sealing and insulating the slab.  It took a lot of teamwork!


It was really cold, which made the tar too stiff to spread so we set the 5 gallon tar bucket right on the wood stove until it was a thin, soupy consistency and spreadable. We then poured the tar on the concrete and used a big 24" squeegee to spread a thin layer all over the concrete. While the tar was heating up we cut large sections of plastic sheeting which were later applied over the tar.


This is the floor in the kitchen/dining room. We laid the plastic over the tar, using our hands to push all the bubbles and bumps out until it was smooth.


After that we placed ¾” sheets of polystyrene foam insulation over the plastic/ tar vapor barrier. The foam acts as a temperature barrier from the cold concrete and actually makes the floor walk a little softer as well.


After all the foam was in place we completed our “subfloor sandwich” with 3/4" plywood on top.


We then used a powder actuated nail gun to secure the plywood and foam to the concrete slap. This is a nail gun that used a .22 caliber shell (same as a bullet - minus the slug) to blast a special nail through our subfloor and into the concrete. Pretty sweet, although after doing about 20, the novelty wore off!  Once we've picked out our flooring it will be installed on top of the subfloor. No more concrete….YAY!!!

Mar 7, 2011

Is there such thing as "rear roof envy"? Yes.


Assuming the front roof was jealous of the rear roof we figured we might as well give it a makeover too. As you can see from an earlier picture, the two dormers on the front of the house were very small. After further inspection we notice they were in fact two different sizes and they weren't framed properly. It was almost as if the previous homeowner had simply cut a hole in the roof and stuck both dormers in - not a very good idea.


So Kevin and I climbed up on the roof and took them down piece by piece. They came apart fairly easily!  We also cut the openings wider so that our new dormers would be proportionate to the size of the roof and they'd be matching sizes.


We then covered them with plywood to keep the rain out until the crew we hired could come out and build new ones.  In the meantime we removed all the old shingles.


We decided to hire a crew to get everything closed in quickly. The crew started by taking measurements of the rough openings that we framed and got started on adding the first dormer.


Then they got to work! Within 40 minutes our new dormers started to take shape.


Here you can see one of the dormers is already framed and the crew is sheeting the rest of the roof with plywood.


One dormer down, one to go! They were fast workers!


Framing for the left dormer was being completed while the guys finished sheeting in the right dormer.


Here's a closer picture of the left dormer.


With the right dormer complete the guys started putting down new tar paper while they finished sheeting in the left dormer.


Here's a view from the inside. As you can see we'll be able to put larger windows in the dormers allowing a lot of sunlight to come in upstairs.


Here's a view of the left dormer.


The new dormers are complete! Look how much nicer it looks now that the dormers are proportionate to the rest of the roof! The crew finished the dormers in 7 hours. It would have taken us over a week.


When we're ready all we have to do is cut out the plywood covering the openings and install some windows. Several weeks later the new shingles were installed!

Mar 4, 2011

A new hat for our house.


Just to refresh your memories, here is a shot of the rear of the house prior to starting the construction of a shed dormer. The dormer would eventually span across the whole rear of the house, instead of having these three odd shaped dormers. The shed dormer will increase the walk-able (without hitting your head on the ceiling!) square footage of the second story by approximately 200 sq. ft.


Becca and I ripped off the old dormers and all the shingles off. The dormers flat roofs’ had failed so it was completely rotted. We bought a nifty magnet on a 4 ft pole and you can see Becca sweeping the yard for nails.


My Dad came down the next day and we continued to strip the shingles and old roof boards off.


After stripping the roof we cut out the old 2x6 roof rafters where the new dormer will eventually be built.


Here is a good view of what it looked like after removing most of the rafters.


Massive LVL (Laminated Veneer Lumber) beams go up next to carry the weight. When we started we had a single pitch roof, meaning the same roof slope on the front and back. The weight was carried where the roof sits on the front and rear walls. Adding the dormer changes the point where the load is carried to the ridge and where the dormer wall will sit, about 3 ft inside the rear wall. We needed to add a pair of these 34 ft x 12 in. beams to carry the weight.


My dad and I did got the beams upstairs with a little help from an old block and tackle rig. The beams weighed about 200lbs each but this made them much more manageable.


Unfortunately, we did this the hard way for the first one. I lifted one end and Dad would clamp it and we would move to the other end and repeat this process until the beam was in place. Dad’s dog, Carson, was not impressed with our toils and slept through the whole thing.


Here you can see the first beam (that we put up the hard way) in place. As you can see, we got smarter and rigged up a derrick made from the old 2x12 ridge board and mounted the block and tackle to the board. Using this, we hoisted the second beam into place with little trouble and nailed them together.


Both beams are in place and supported.


Here you can see the pair of beams the shed dormer wall will be built on. What you can't see is under the floor there are two steel I-Beams. These I-Beams and the gable walls on each end of the house pick up the load that is distributed evenly by this pair of LVL beams. Total overkill if you ask me, but we're just doing what the architect specified!


Dad and I then nailed off the new ½ plywood sheeting around the dormer opening.

Here is the sheeting installed before we trimmed the edges off.


Dad and I then framed the dormer wall. Notice the slope of the old roof line on the left of the picture. That will kind of give you an idea of how much extra room that adding this style of dormer give us, and it completely justifies all this extra work.

Here is the dormer wall after we sheeted it in with plywood. The openings for the windows are framed but sheeted over for now until we get the windows on site and ready to install.


Next, the new rafters for the dormer went up.


And….voila, a new shed dormer is born!

Tar paper was laid on the whole roof until we could get around to putting the shingles on.


The snow gives away how long this actually took... but it’s done. You can see we have also moved the back door over to the left where it will open into a mud room/laundry room instead of the kitchen/dining room.


Just a few weeks ago we put the beautiful new shingles on and istalled our new back door!